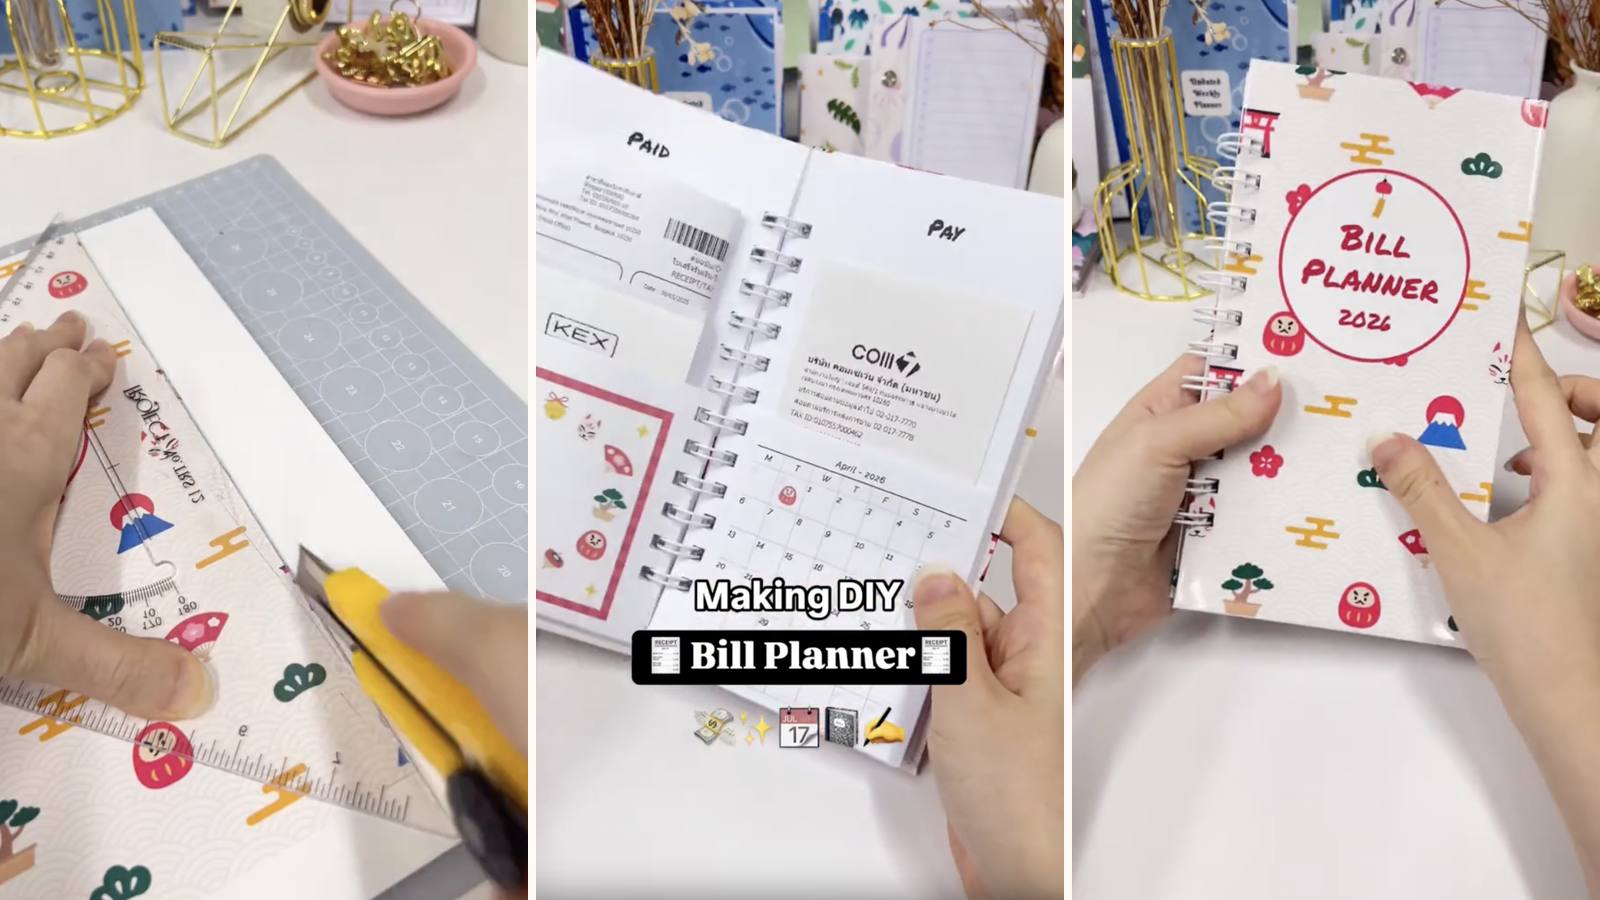
Twelve pages, each folded so it becomes its own envelope. Write the month's bills on the front, slip the receipts inside the pocket, and the paper trail lives in the same place as the record of it. Wire-O binding so it opens flat, chipboard covers so it survives a year on a shelf.
These tutorials use Planify Pro, a drag-and-drop tool for designing printable planners and stationery. Building and editing is free — exporting a PDF needs a plan, from $9.99/month.
Get the template
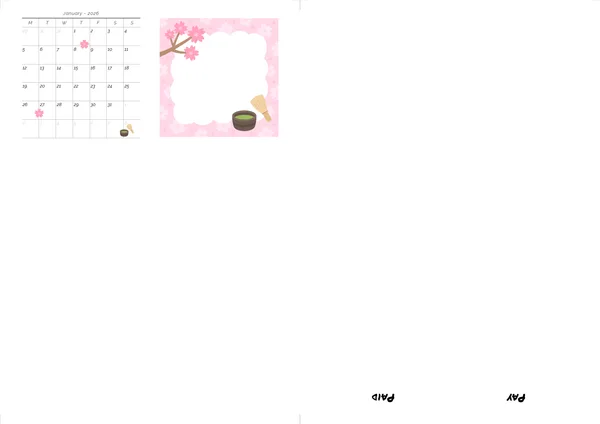
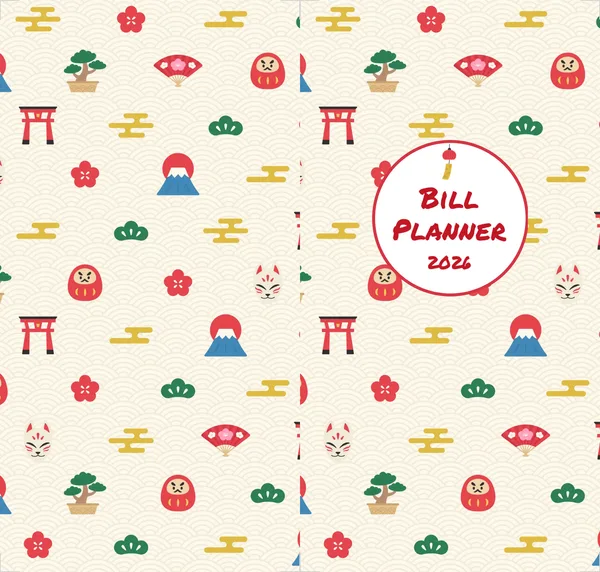
There are two files here — the DIY Bill Planner and the DIY Bill Planner Cover. Open either in Planify Pro to change the size, colours or artwork before printing, or print them exactly as they are.
Export and print
Pocket pages: Save/Export → All Pages → Paper → A4 → Do not rearrange → Batch Generate PDF. Rearranging would reorder the months, which is exactly what you don't want here.
Cover: Save/Export → Selected Page → Paper → A4 → Generate PDF, on white glossy sticker paper.
Print the pages on 80gsm paper at 100%. Heavier paper makes a stiffer pocket that won't fold flat against the next page.
What You'll Need
 Paper 80gsm Paper 80gsm |
 Chipboard Chipboard |
 Glossy Sticker Paper Glossy Sticker Paper |
 O-Wires 10-15mm O-Wires 10-15mm |
 Binding Machine Binding Machine |
 Guillotine Paper Cutter Guillotine Paper Cutter |
Instructions
1. Print the pocket pages. All twelve, at 100%.  |
2. Make the first fold. As shown — this brings one edge up to form the front of the pocket.  |
3. Fold it the other way. The second fold closes the side and turns a flat sheet into an envelope with one open edge.  |
This is what the front should look like once folded.  |
And the back.  |
4. Fold all twelve. One per month. Do them all before punching anything — it's much easier to spot an odd one out with the full set in front of you.  |
5. Punch the open side. The open edge is what gets bound — bind the folded edge instead and the pockets open into the spine, where nothing will stay put.  |
6. Print the cover designs. On white glossy sticker paper.  |
7. Trim the white edges. Back to the printed area on both covers.  |
8. Cut two chipboards at 20.5 × 12.2 cm. Front and back, identical.  |
9. Place each board on its cover. Centred on the peeled adhesive, square before pressing.  |
10. Trim the corners at 45°. Both covers, all corners.  |
11. Fold the sides in. Press each margin down firmly onto the back of the board.  |
12. Line the insides. Two pieces of white glossy sticker paper, cut slightly smaller than the cover so the edge doesn't peel.  |
13. Punch both covers. Match them against a punched pocket first.  |
14. Get the wires ready. 10–15mm is plenty — twelve folded pockets are thicker than twelve sheets, but not by much.  |
15. Load the pockets. January to December, in order — worth double-checking now rather than after the wire closes.  |
16. Add the front cover.  |
17. Add the back cover.  |
18. Close the wires. One firm squeeze.  |
Twelve months, twelve pockets, one book.  |
Troubleshooting
Receipts fall out of the pockets. The wrong edge was punched. The open side goes on the wire, so the pocket opens away from the spine.
The planner won't close flat. Twelve folded pockets are three times the bulk of twelve sheets. Go up a wire size rather than forcing it.
The pockets are inconsistent. Fold all twelve in one sitting against the same reference — folding a few at a time across days gives you twelve slightly different pockets.
The pages won't turn. Wire over-closed. One squeeze only.
Note: a paper pocket holds receipts, not valuables. It isn't a safe place for anything you'd be sorry to lose.
Selling these
Financial organisation is a January product. Bill planners, budget books and expense trackers sell hardest in the first weeks of the year, so list them in December.
The pocket is the differentiator. Plenty of shops sell a bill tracker; a tracker with somewhere to physically put the bill is a different product, and it's the thing to lead with in the title.
An undated version sells year-round and lets you use the same stock for whichever year someone starts in — worth having alongside the dated one.
See 20 profitable planner niches and 50+ planner template ideas for more.
Try these next
- DIY Hardbound Planner — a long-format monthly book
- DIY Weekly Planner
- How to Make a Planner Box
- Book Binding Methods Compared
- Browse all DIY tutorials


