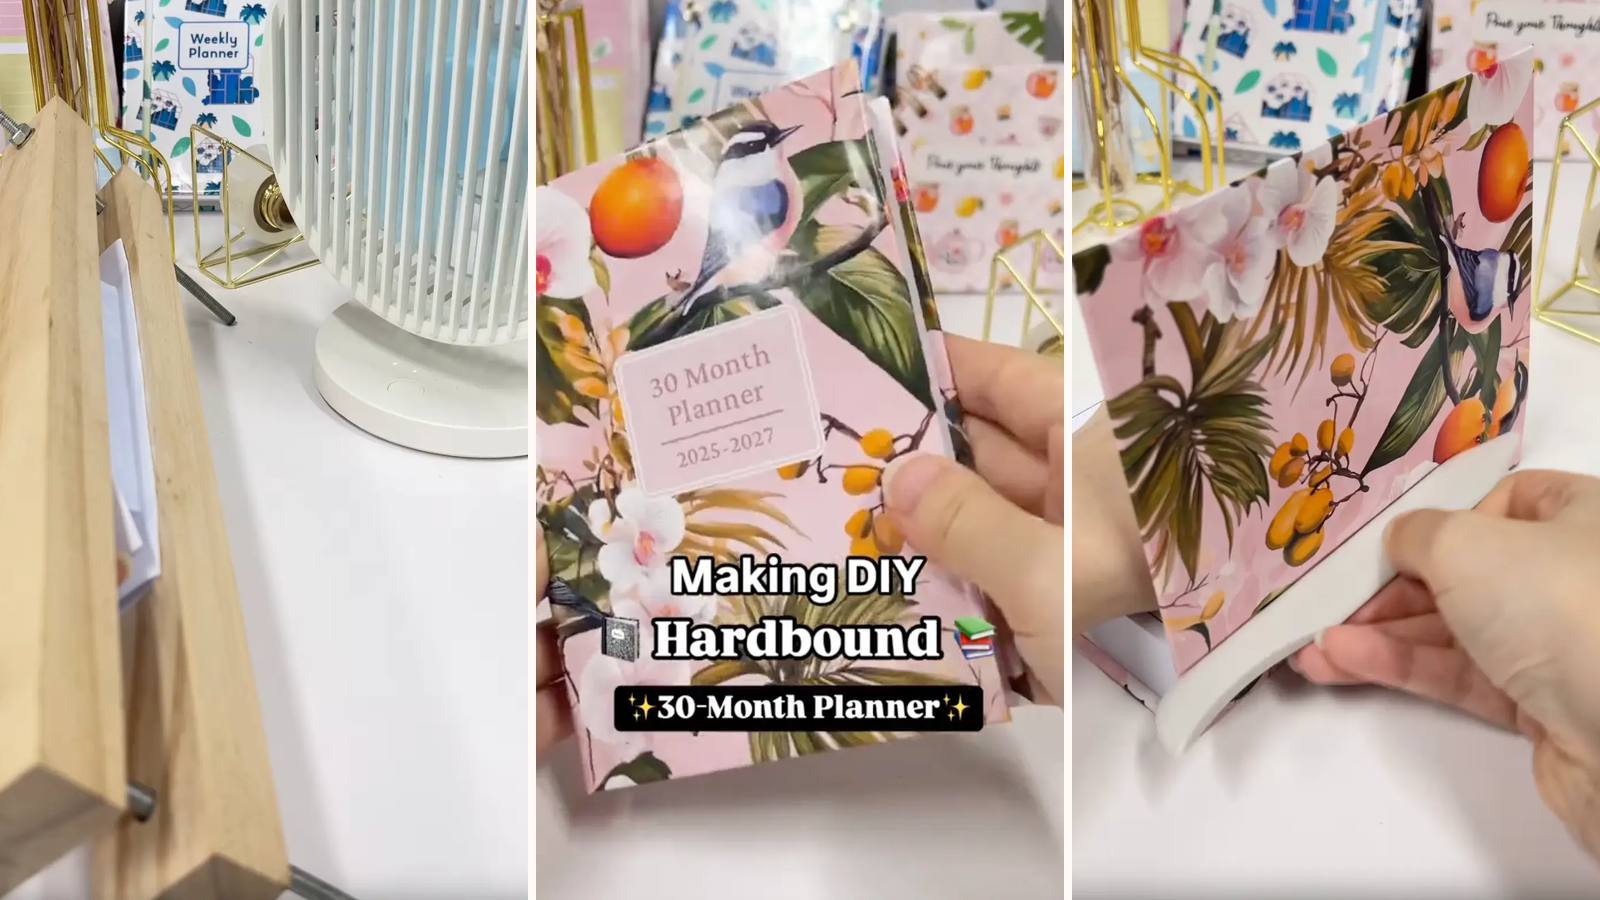
A proper hardback: 120 folded pages glued into a book block under a press, a headband at each end of the spine, and a three-panel chipboard case built around it. It's the longest build here — most of it drying time — and the finished thing is genuinely difficult to tell from a shop-bought planner.
These tutorials use Planify Pro, a drag-and-drop tool for designing printable planners and stationery. Building and editing is free — exporting a PDF needs a plan, from $9.99/month.
Get the template
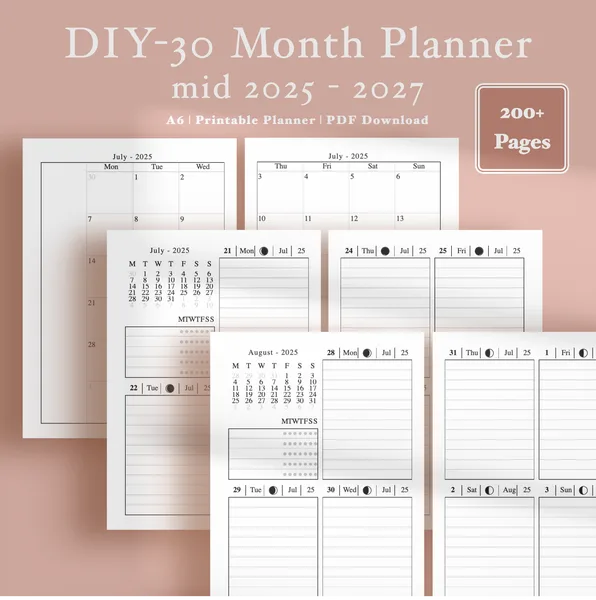
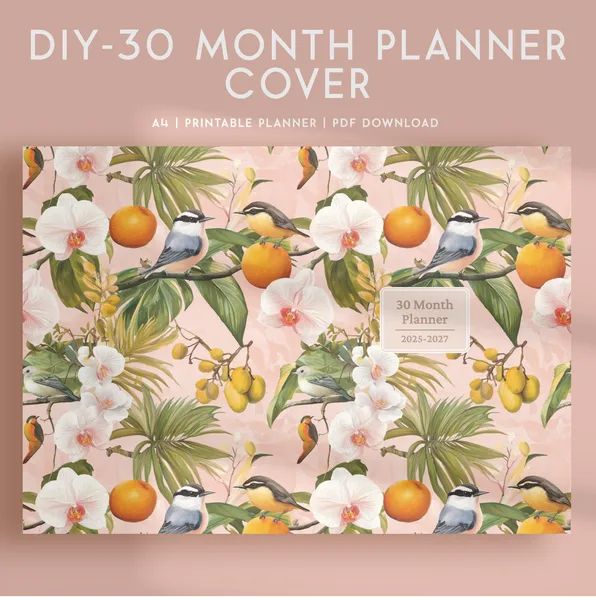
There are two files here — the Midyear XL Planner: 30 Months of Planning and the Midyear XL Planner Cover 2. Open either in Planify Pro to change the size, colours or layout before printing, or print them exactly as they are.
Export and print
Cover: Save/Export → Selected Page → Paper → A4 → Generate PDF, on white glossy sticker paper.
Planner: Save/Export → All Pages → Paper → A4 → Rearrange Booklet → Sheets per Signature: 1 → Generate PDF.
The booklet rearrange is what makes the pages read in sequence once they're folded and stacked. Get it wrong and you find out 120 folds later.
What You'll Need
 Chipboard 1.4mm Chipboard 1.4mm |
 Paper 80gsm Paper 80gsm |
 Glossy Sticker Paper Glossy Sticker Paper |
 PVA Glue PVA Glue |
 Guillotine Paper Cutter Guillotine Paper Cutter |
 Bone Folder Bone Folder |
You'll also need a book press, a headband (the woven strip at the top and bottom of a book's spine), and double-sided tape for casing in.
Instructions
1. Print and trim 120 pages. Guillotine, even batches.  |
2. Fold every page. One at a time, creased with the bone folder, keeping them in sequence as you stack. This is the long part — put something on to listen to.  |
3. Press the stack, folded spine up, and glue it. A generous coat of PVA along the spine.  |
4. Spread it with a sponge. Working it into the gaps rather than across the top.  |
5. Push the stack left and glue again. Fanning the spine opens the gaps between folds so glue actually reaches inside them.  |
6. Push it right and repeat. Both directions. This is the step that decides whether the book survives being read.  |
7. Clamp the press at the spine. Even pressure across the whole block — and slip scrap paper between the press and the glued spine, or the press becomes part of the book.  |
8. Dry for 1.5–2 hours, or overnight. Overnight is better. A 120-page block holds moisture far longer than it looks like it should.  |
9. Trim the fore edge. Optional, but it's what turns a stack of folded paper into something that looks machine-made.  |
10. Cut a headband to the spine width. Exactly the spine width — a headband that overhangs is immediately visible at the top of the book.  |
11. Glue a headband at each end. Top and bottom of the spine, with PVA. Small detail, big difference to how finished it looks.  |
12. Print the cover. On white glossy sticker paper.  |
13. Cut three chipboard pieces. 1) 10.5 × 15 cm · 2) 2.2 × 15 cm · 3) 10.5 × 15 cm. Front, spine, back.  |
The spine piece must match your book's actual spine width. 2.2 cm is what 120 pages of 80gsm came to here — measure your own block rather than trusting the number.  |
The covers should be about 2 mm bigger than the book on each side. That overhang is what protects the pages — and it's what makes it read as a hardback rather than a glued stack.  |
14. Lay the boards on the cover. Centre the spine piece first and build outwards from it — everything else is positioned relative to that, and a spine that's off-centre can't be corrected later.  |
15. Trim the corners. At an angle, all four.  |
16. Fold all the sides in. Press each margin down hard.  |
17. Tape the book block. Double-sided tape on the front and back outer pages — right to the paper's edge, around all sides, plus a diagonal across the middle so the centre doesn't lift.  |
18. Case it in. Sit the block on the open case, peel, and fold the cover down onto it. Then the same on the back. Get the spine seated properly before pressing — there's no adjusting afterwards.  |
19. Score along the spine. Optional, but running a line each side of the spine strip gives the hinge somewhere to fold and makes it sit like a real book.  |
Troubleshooting
Pages fall out of the middle. The glue never reached inside the folds. The push-left, push-right coats are the whole technique — one flat coat on top will not hold.
The pages are out of order. Exported without Rearrange Booklet, or the stack got shuffled during folding. Keep them in a neat pile in sequence.
The spine board is too narrow or too wide. Measure the finished block, not the estimate. Paper weight and page count both change it.
The cover lifted off after a week. Tape too far in from the edge, or no diagonal across the centre. Both matter on a book this heavy.
The press is stuck to the book. Scrap paper between press and spine, every time.
Selling these
This is the flagship. It's the one that justifies a premium price, and the one that makes everything else in your shop look better by association.
Be honest with yourself about the time, though. Overnight drying means you can't make one to order in a day — build stock ahead of the season rather than promising a turnaround.
A 30-month planner is also a good hedge against dated stock. It spans enough time that it doesn't go stale the moment a year turns.
See 20 profitable planner niches and what a planner business costs for more.


