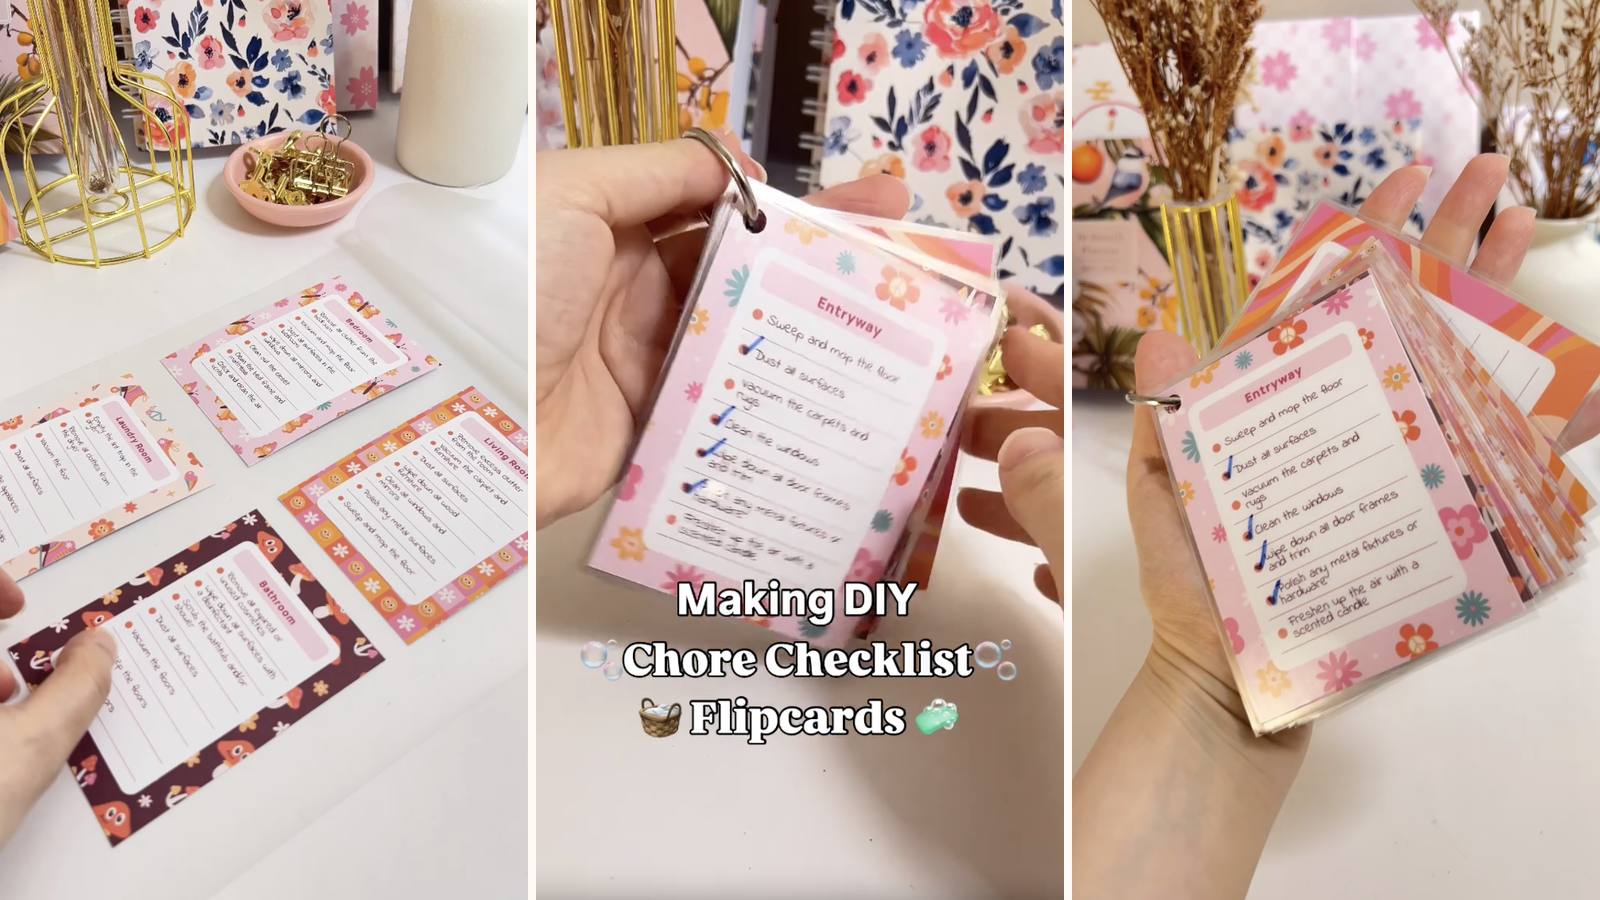
A card for each room, laminated and threaded onto one ring. Flip to the kitchen card, tick the tasks off in dry-erase marker, wipe it clean and it's ready for next week. No app, no printing a fresh list every time, and nothing to lose because it's all on one ring.
These tutorials use Planify Pro, a drag-and-drop tool for designing printable planners and stationery. Building and editing is free — exporting a PDF needs a plan, from $9.99/month.
Get the template
Open it in Planify Pro to change the rooms, tasks or colours before printing — or print it exactly as it is.
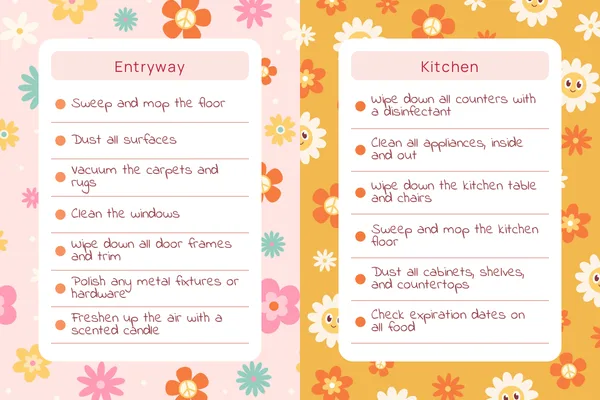
Licence note: this template is a free download for personal use and cannot be used commercially. If you want to sell what you make from it, you'll need the Business Plan commercial licence.
Export and print
Go to Save/Export → All Pages → Paper → A4 → Quadruple Running Numbers → Do not Rearrange → Batch Generate PDF.
Quadruple puts four cards on each A4 sheet, and running numbers keeps them in sequence across the sheets — so eight cards come off two pages in the right order. Do not rearrange matters too: rearranging is for bound books, and it will scramble a card set.
What You'll Need
 Paper or Cardstock Paper or Cardstock |
 Single Hole Puncher Single Hole Puncher |
 Paper Cutter Paper Cutter |
You'll also need a laminator and laminating pouches, a card ring, and a dry-erase marker to actually use the finished set.
Instructions
1. Print all the pages. Cardstock gives a card that feels sturdier through the laminate, but ordinary paper laminates perfectly well.  |
2. Cut the cards out. Trim to the design, but leave a small border — you'll cut again after laminating, and you need something to cut into.  |
3. Get the laminator ready. Pouches out, cards sorted into the order you want them on the ring.  |
4. Let it preheat. Feeding cards through a cold laminator gives you cloudy patches that never clear.  |
5. Load the cards into the pouches. Leave a gap between cards — they need a sealed laminate border all the way round or moisture gets in at the edge.  |
6. Run them through. Sealed edge first, and let each pouch come out fully before feeding the next.  |
7. Cut the laminated cards apart. Leave 2–3 mm of laminate all the way round each one. Cut right to the paper and the layers will peel apart with use.  |
8. Punch the top left corner. Same corner on every card, so they stack neatly on the ring and flip in one direction.  |
9. Open the card ring.  |
10. Thread the cards on. In the order you clean in, not alphabetically — the point is flipping to the next room without thinking about it.  |
Done. Tick them off with a dry-erase marker and wipe clean.  |
Troubleshooting
The laminate peels at the edges. Cut too close to the paper. You need a sealed 2–3 mm margin of laminate all the way round.
The marker won't wipe off. Either it's a permanent marker, or the laminate has a matte finish. Gloss pouches wipe far more reliably than matte ones.
Cloudy patches in the laminate. The laminator wasn't fully preheated, or the pouches went through too fast one after another.
The cards won't sit flat on the ring. The corner holes aren't in the same place. Punch against an already-punched card rather than eyeing each one.
Selling these
Not with this template. The free download is personal use only — selling anything made from it needs the Business Plan commercial licence. With that in place, laminated card sets are a good product: they're durable, they post flat, and "reusable" is a genuine selling point against printable-only listings.
Household organisation also reaches buyers who'd never search for stationery, and family or kids' chore sets are a distinct niche from planner products.
The laminator is the only equipment barrier, and it's cheap. Once you have one, the same process makes meal planners, routine cards and reward charts from the same set of steps.
See 20 profitable planner niches and easy one-page printables that sell for more.
Try these next
- DIY Flashcards — cards on a screw instead of a ring
- DIY Magnetic Fridge Planner — another dry-erase build
- DIY Magnetic Fridge Notepad
- How to Make Sticky Notes at Home
- Browse all DIY tutorials


