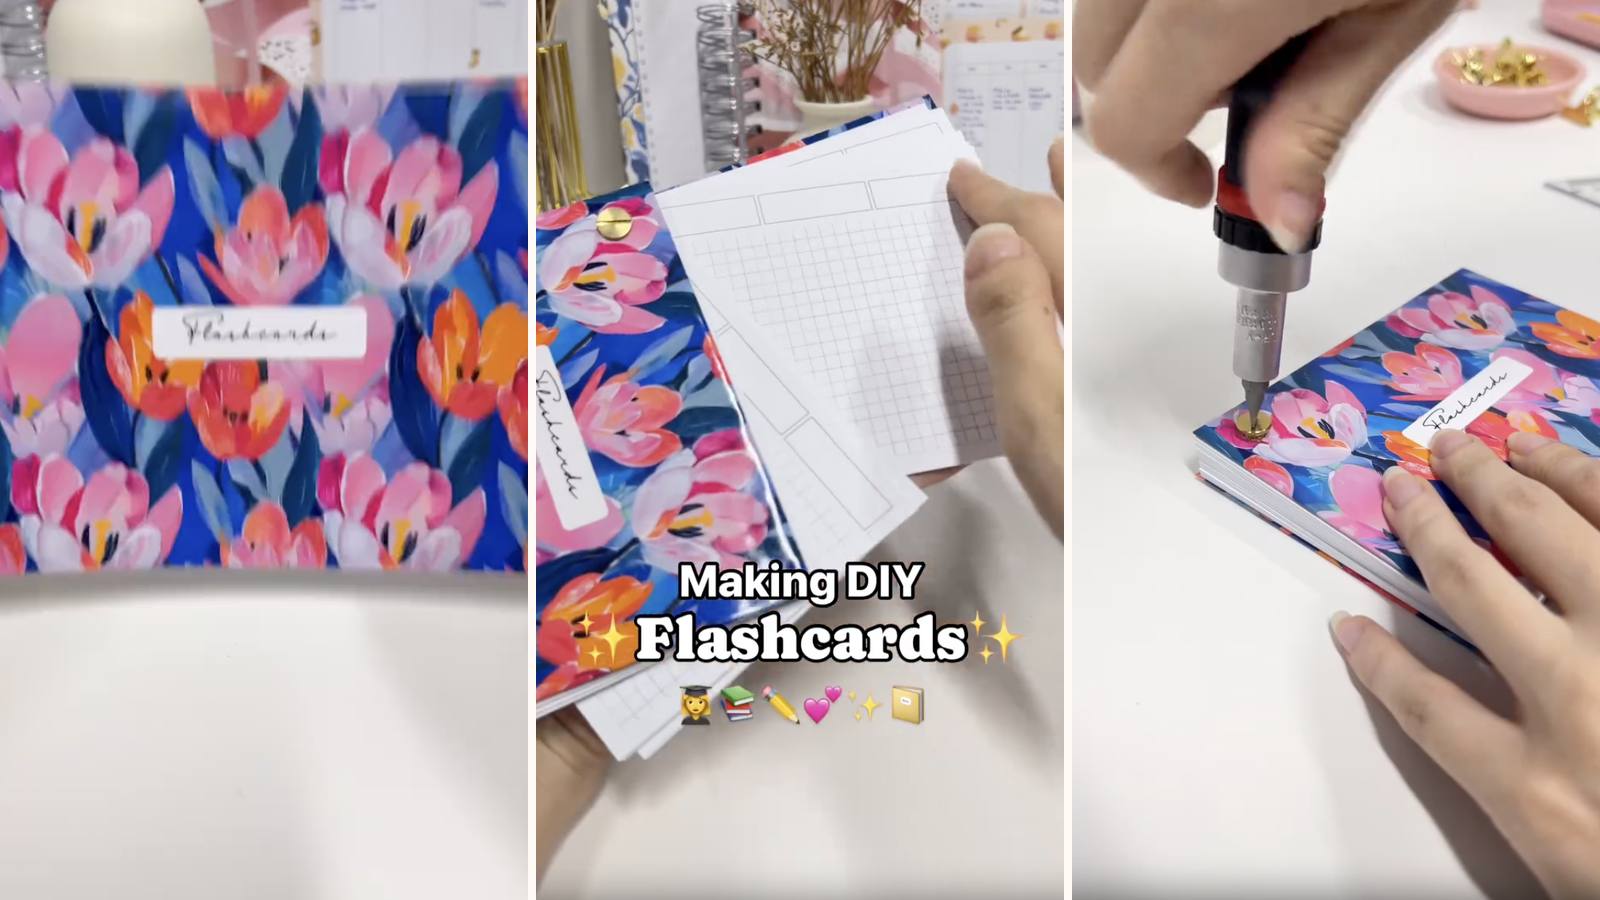
A stack of cards on one Chicago screw through the corner, so the whole set fans open and you can flip through it one card at a time without anything coming loose. Chipboard covers front and back keep the cards flat in a bag.
These tutorials use Planify Pro, a drag-and-drop tool for designing printable planners and stationery. Building and editing is free — exporting a PDF needs a plan, from $9.99/month.
Get the template
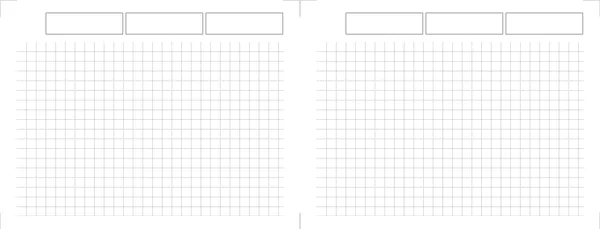
Open it in Planify Pro to change the card content, size or cover artwork before printing — or print it exactly as it is.
Export and print
Both exports are the same: Save/Export → Selected Page → Paper → A4 → Generate PDF — once for the cards, once for the cover.
Print at 100% from Adobe Acrobat Reader. The template lays the cards out with crop marks, and those marks only line up if the printer isn't scaling — if the cards come out different sizes, that's why.
What You'll Need
 Paper or Cardstock Paper or Cardstock |
 Chipboard Chipboard |
 Glossy Sticker Paper Glossy Sticker Paper |
 Chicago Screw 18mm Chicago Screw 18mm |
 Hole Puncher Hole Puncher |
 Paper Trimmer Paper Trimmer |
A screwdriver is useful for the final tightening, though an 18 mm Chicago screw will go most of the way by hand.
Instructions
1. Print the card sheets. At 100%, so the crop marks land where the template expects.  |
2. Trim along the crop marks. Use the trimmer, not scissors. Cards you fan through are held right at the edge, so any wobble in the cut is the first thing anyone notices.  |
3. Punch one hole in each card. A regular hole punch does it. Punch a few at a time and stack them against a punched card so every hole sits in the same corner position — the set only fans evenly if they do.  |
4. Print and trim the covers. On glossy sticker paper, white edges cut off. You should end up with two pieces — front and back.  |
5. Wrap two chipboards the same size as the cards. Lay each board on its cover, fold the sides in, and line the inside with white glossy sticker paper. Cut them to match the cards exactly — an oversize cover stops the set fanning cleanly.  |
6. Fit the Chicago screw in the back cover. Punch its corner to match the cards first, then push the post through.  |
7. Thread the cards on. All of them, in the order you want to study them, then the front cover on top.  |
8. Tighten the screw. Snug but not clamped — the cards need to pivot freely, and a screw done up hard turns a fan into a brick.  |
Troubleshooting
The cards won't fan out evenly. The corner holes aren't in the same place on every card. Punch against an already-punched card as a guide rather than eyeing each one.
The set is stiff to flip. The screw is too tight. Back it off until the cards move freely — Chicago screws hold fine finger-tight.
The cards are different sizes. The sheet printed with scaling on, so the crop marks moved. Reprint at 100%.
The screw won't reach through. Too many cards for 18 mm. Split the set into two — which is usually better for studying anyway.
Selling these
Flashcards are one of the few stationery products with a genuinely captive market: students buy them every term, and they buy them by subject.
That makes subject-specific sets the opportunity. Blank flashcards compete on price with every stationer; a set laid out for a named exam or language competes with almost nothing.
They're also the cheapest thing in this whole library to make — a couple of sheets of paper, two chipboard offcuts and one screw — which leaves real margin at a low price point.
See 20 profitable planner niches and easy one-page printables that sell for more.
Try these next
- DIY Chore Checklist Flipcards — cards on a ring
- DIY Refillable Notepad — same screw binding
- DIY Refillable Journal
- Book Binding Methods Compared
- Browse all DIY tutorials


