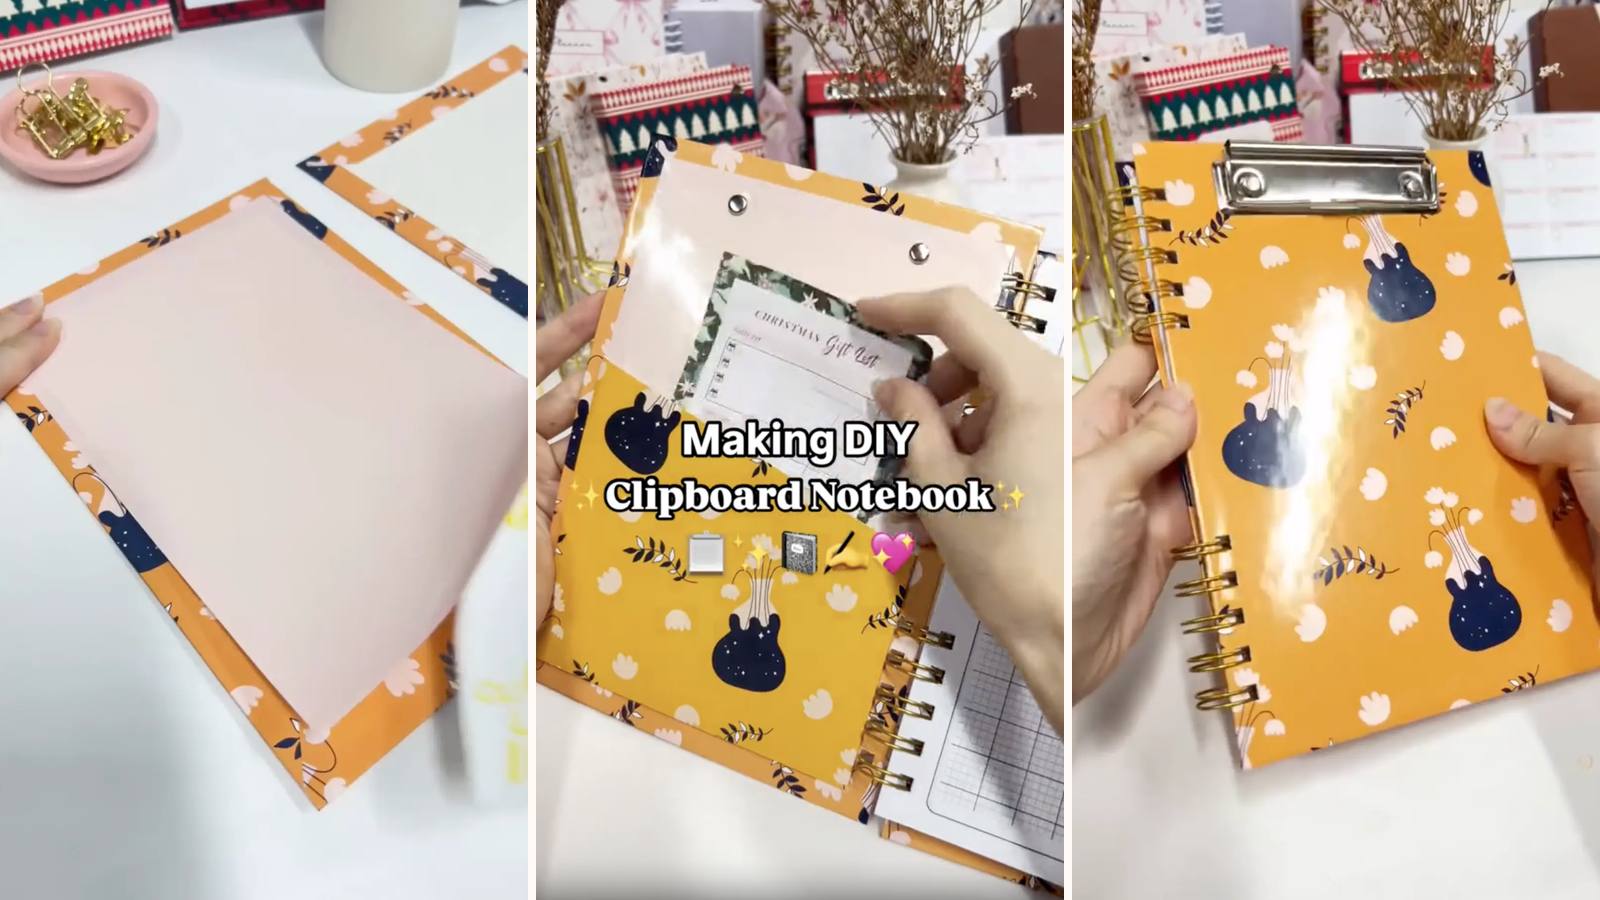
A wire-bound notebook with a clipboard clip on the front and a paper pocket inside. Clip loose sheets on top, write in the notebook underneath, keep receipts in the pocket. The chipboard covers are stiff enough to write on standing up, and the wire lets it fold all the way back.
These tutorials use Planify Pro, a drag-and-drop tool for designing printable planners and stationery. Building and editing is free — exporting a PDF needs a plan, from $9.99/month.
Design the pages
There's no marketplace listing for this one, so build the two designs yourself in Planify Pro: an insert page (lined, dotted or grid) and a cover design. Run the cover artwork right to the edge — the margins get folded round the board, so anything near the border won't be seen.
Export and print
Cover: Save/Export → Selected Page → Paper → A5 → Generate PDF. Print it twice on white glossy sticker paper — one for each cover.
Inserts: Save/Export → Selected Page → Paper → A4 or US Letter → Generate PDF, printed at 100%.
What You'll Need
 Chipboard 1.4mm Chipboard 1.4mm |
 Glossy Sticker Paper Glossy Sticker Paper |
 Paper and Cardstock Paper and Cardstock |
 O-Wires 20mm O-Wires 20mm |
 Cinch Binding Machine Cinch Binding Machine |
 Screws and Rivets Kit Screws and Rivets Kit |
You'll also need a clipboard clip (they usually come with their own fixing buttons), a riveting tool to set them, and double-sided tape for the pocket.
Instructions
1. Print, cut and punch the inserts. Small batches on the Cinch, all registered to the same edge.  |
2. Print the cover twice and trim. Two copies on glossy sticker paper, white edges cut off both.  |
3. Cut two chipboards at 15.8 × 22.8 cm. Front and back, identical — cut them together so they match exactly.  |
4. Centre each board on its cover. Peel the backing first, then position the board in the middle so the wrap margin is even all the way round.  |
5. Trim the corners at 45°. Scissors are fine. Do this before folding, always.  |
6. Fold all the sides in. Press each margin firmly onto the back of the board.  |
7. Line the insides. Plain white sticker paper, or print a second design if you want a coloured inside cover.  |
8. Punch both covers. Match them to a punched insert before pressing — the covers are the pieces you can't remake in a minute.  |
9. Get the clipboard clip out. Most come with their own fixing buttons or screws in the packet.  |
10. Mark its position on the front cover. Hold the clip in place and mark through its holes — spacing varies by brand, so don't measure from a diagram.  |
11. Punch and rivet the clip on. A riveting tool sets the buttons properly. This joint takes force every time paper is loaded, so pliers won't do.  |
12. Cut the pocket (optional). Cardstock at 12.5 cm × 14 cm × 9 cm with an extra 1 cm flap on each side. Those flaps are what it sticks down by.  |
13. Fold the flaps. Crease them hard so the pocket sits flat against the cover rather than bowing off it. 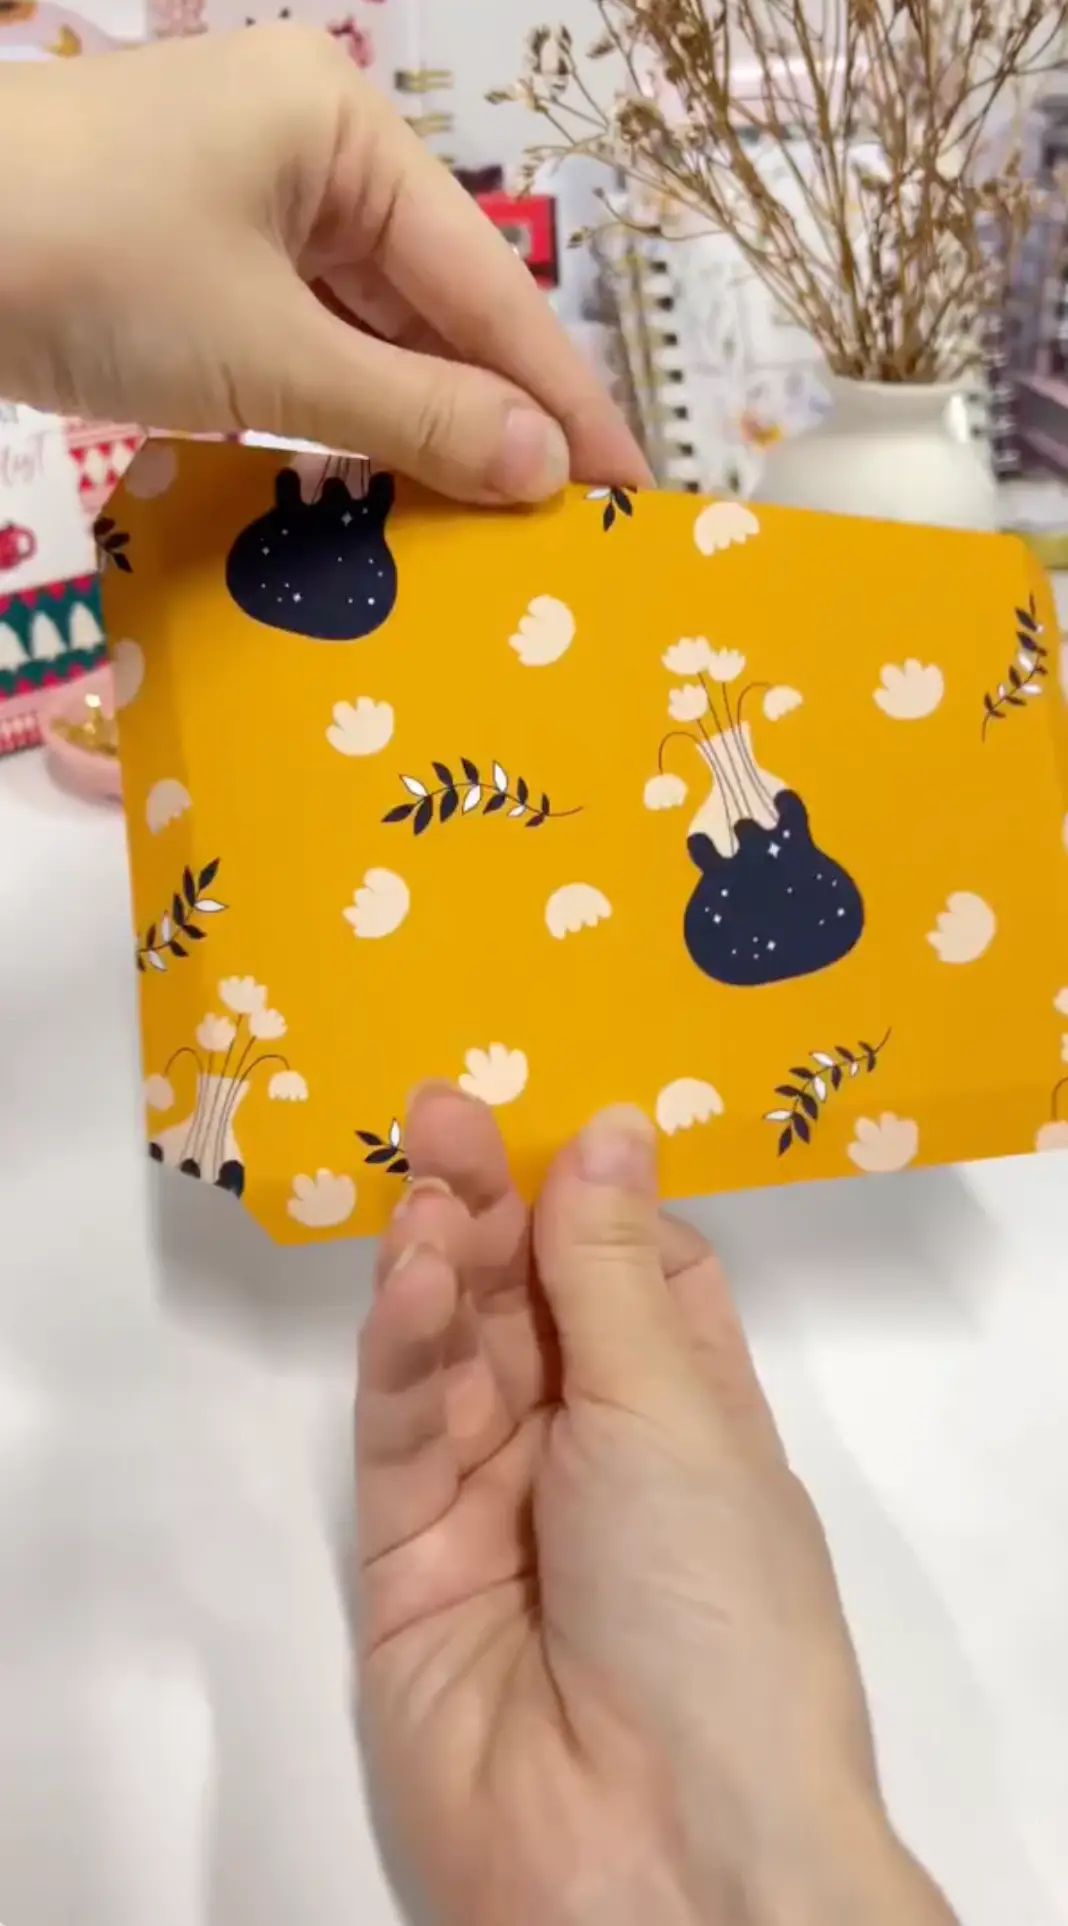 |
14. Tape the flaps. Double-sided tape on each one, backing peeled.  |
15. Fit the pocket and bind. Press the pocket onto the inside cover, then load the wire: inserts, back cover, front cover, and close it on the Cinch.  |
Clip on the front, pages in the middle, pocket in the back.  |
Troubleshooting
The clip works loose. The punched holes are bigger than the fixings, or they weren't riveted properly. Move the clip slightly and punch fresh holes rather than packing out the old ones.
The clip fouls the wire. It's mounted too close to the spine. Sit it far enough down the cover that the wire loops turn freely underneath.
The pocket bulges and stops the cover closing. The flaps weren't creased hard enough, or the pocket is overfilled. It's for a few sheets, not a wallet.
The pages won't turn. Wire over-closed. One squeeze on the Cinch is enough.
Selling these
This one has an unusually clear buyer: anyone who writes standing up. Students, surveyors, teachers, anyone on a site or a ward round. That's a specific listing to write, and specific converts better than pretty.
The clip is also what lets you price above a plain notebook. It's a visible piece of hardware, and hardware reads as "manufactured" rather than "craft".
Batch the cutting and wrapping, and keep the riveting for last — it's the one step that needs a tool set up, so doing twenty in a row beats one at a time.
See 20 profitable planner niches and how to design planners that sell for more.


