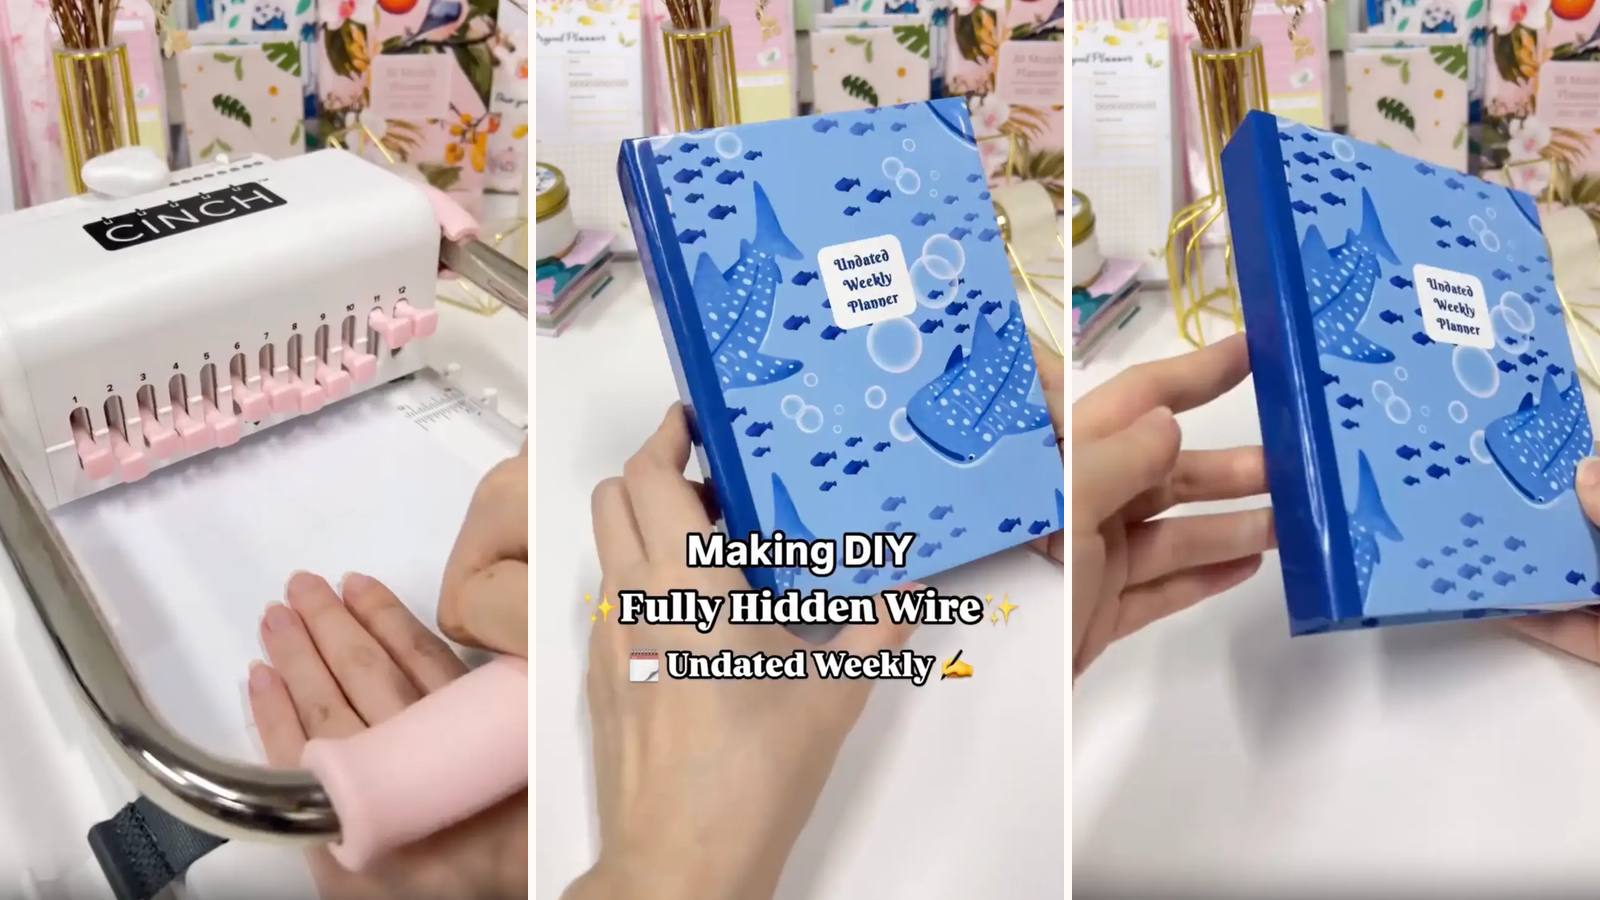
Wire binding with no wire showing. The pages bind into a folded cardstock spine rather than straight into the cover, and that spine then tapes inside a three-panel chipboard case — so from outside it looks like a solid hardback book, while inside it still opens flat like a wire notebook. It goes a step further than the half-hidden wire notebook, which leaves the spine visible.
These tutorials use Planify Pro, a drag-and-drop tool for designing printable planners and stationery. Building and editing is free — exporting a PDF needs a plan, from $9.99/month.
Get the template
There are two files here — the Undated Weekly Planner and the Undated Weekly Planner Cover. Open either in Planify Pro to change the size, colours or layout before printing, or print them exactly as they are.

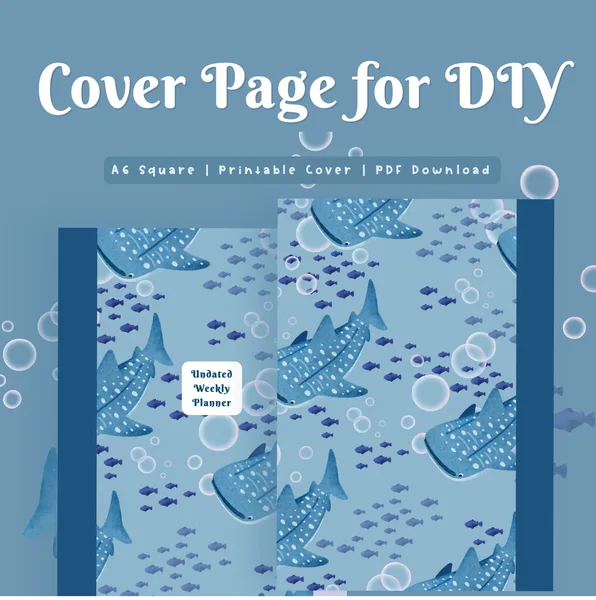
Export and print
Cover: Save/Export → Selected Page → Paper → A4 → Generate PDF. Print it borderless if your printer will — the design wraps round the board edges, and a white margin shows as a pale stripe on the finished spine.
Inserts: Save/Export → All Pages → Paper → A4 → Rearrange Pages for Ring → Generate PDF.
What You'll Need
 Chipboard 1.4mm Chipboard 1.4mm |
 Paper and Cardstock Paper and Cardstock |
 Glossy Sticker Paper Glossy Sticker Paper |
 O-Wires 20mm O-Wires 20mm |
 Cinch Binding Machine Cinch Binding Machine |
 Guillotine Paper Cutter Guillotine Paper Cutter |
You'll also need double-sided tape — it's what holds the whole concealment together.
Instructions
1. Print and cut the inserts. Trim on the guillotine in even batches.  |
2. Punch them all. Note the punch setting you use — the cardstock spine has to match it exactly later.  |
3. Print the cover, borderless if you can. Otherwise trim the white border off before wrapping.  |
4. Cut three chipboards. Two at 12.2 × 16 cm and one at 2 × 16 cm. The narrow one is the spine of the outer case.  |
5. Peel the cover backing. Lay it adhesive side up.  |
6. Position the boards with 3–4 mm gaps. Centred, spine strip in the middle. Those gaps are the hinges the case opens on.  |
7. Trim the corners at 45°.  |
8. Fold the edges in. Press each margin down firmly. Set the finished case aside.  |
9. Cut cardstock at 15 × 28.5 cm. This piece becomes the hidden spine — the wire binds into it, not into the cover.  |
10. Fold it in half. Crease it hard.  |
11. Punch the folded end. Same punch setting as the inserts — this is the step the whole build depends on, so check it against a punched page.  |
This is what the punched, folded cardstock should look like.  |
12. Score 1.4 cm out from the fold, both sides. Measure from the centre fold outwards. These two scores are what let the spine wrap round the wire instead of sitting flat against it.  |
13. Fold on the scores.  |
It should now form a W — that's the channel the wire will sit inside.  |
14. Get the o-wires ready. 20mm, open on the machine's holder.  |
15. Load the cardstock first, then the inserts. The spine has to go on before the pages, or it can't wrap round them afterwards.  |
16. Close the wires. One firm squeeze on the Cinch.  |
17. Fold the cardstock forward around the pages. This is the moment the wire disappears — the W closes over it from both sides.  |
This is how it should look with the spine wrapped.  |
18. Tape the cardstock panels. Double-sided tape right round the edges, as close to the edge as you can get it — tape set in from the edge leaves a lifting corner.  |
19. Stick it inside the cover. Peel and press one side into the case, keeping the spine channel square against the case's spine strip.  |
20. Repeat on the other side. Close the case gently before pressing the second panel — that way it sets in the position it will actually sit.  |
From underneath, the spine channel sits inside the case with the wire out of sight.  |
Closed, it reads as a hardback. Open, it still lies flat.  |
Troubleshooting
The cardstock holes don't line up with the inserts. Different punch setting. Everything has to be punched on the same setting, and the folded cardstock is easy to get wrong because it's double thickness — check against a punched insert before committing.
The spine won't wrap over the wire. The 1.4 cm scores are too close together for a 20mm wire. Measure from the centre fold outwards, and go slightly wider if you've used a bigger wire.
The cover won't close. The wrapped spine is thicker than the case's 2 cm spine strip allows. Cut the strip to suit the actual wrapped thickness rather than the nominal wire size.
The cardstock lifts out of the cover. Tape too far in from the edge. Right up against the edge, all the way round.
Selling these
This is the technique that makes a handmade planner look shop-bought. No visible wire is the single biggest thing separating a craft-fair notebook from something that could sit in a stationery shop, and it costs one sheet of cardstock.
Price it accordingly. The build is only a few steps longer than an ordinary wire notebook, but it looks like a different class of product — and buyers price on what they see.
It's also worth photographing closed. The whole selling point is what isn't there, which only reads in a shot of the spine.
See 20 profitable planner niches and how to create listing photos for more.
Try these next
- DIY Half-Hidden Wire Notebook — the simpler version
- DIY Pocket Bullet Journal — hidden wire, smaller format
- DIY Hardbound Planner
- Book Binding Methods Compared
- Browse all DIY tutorials


