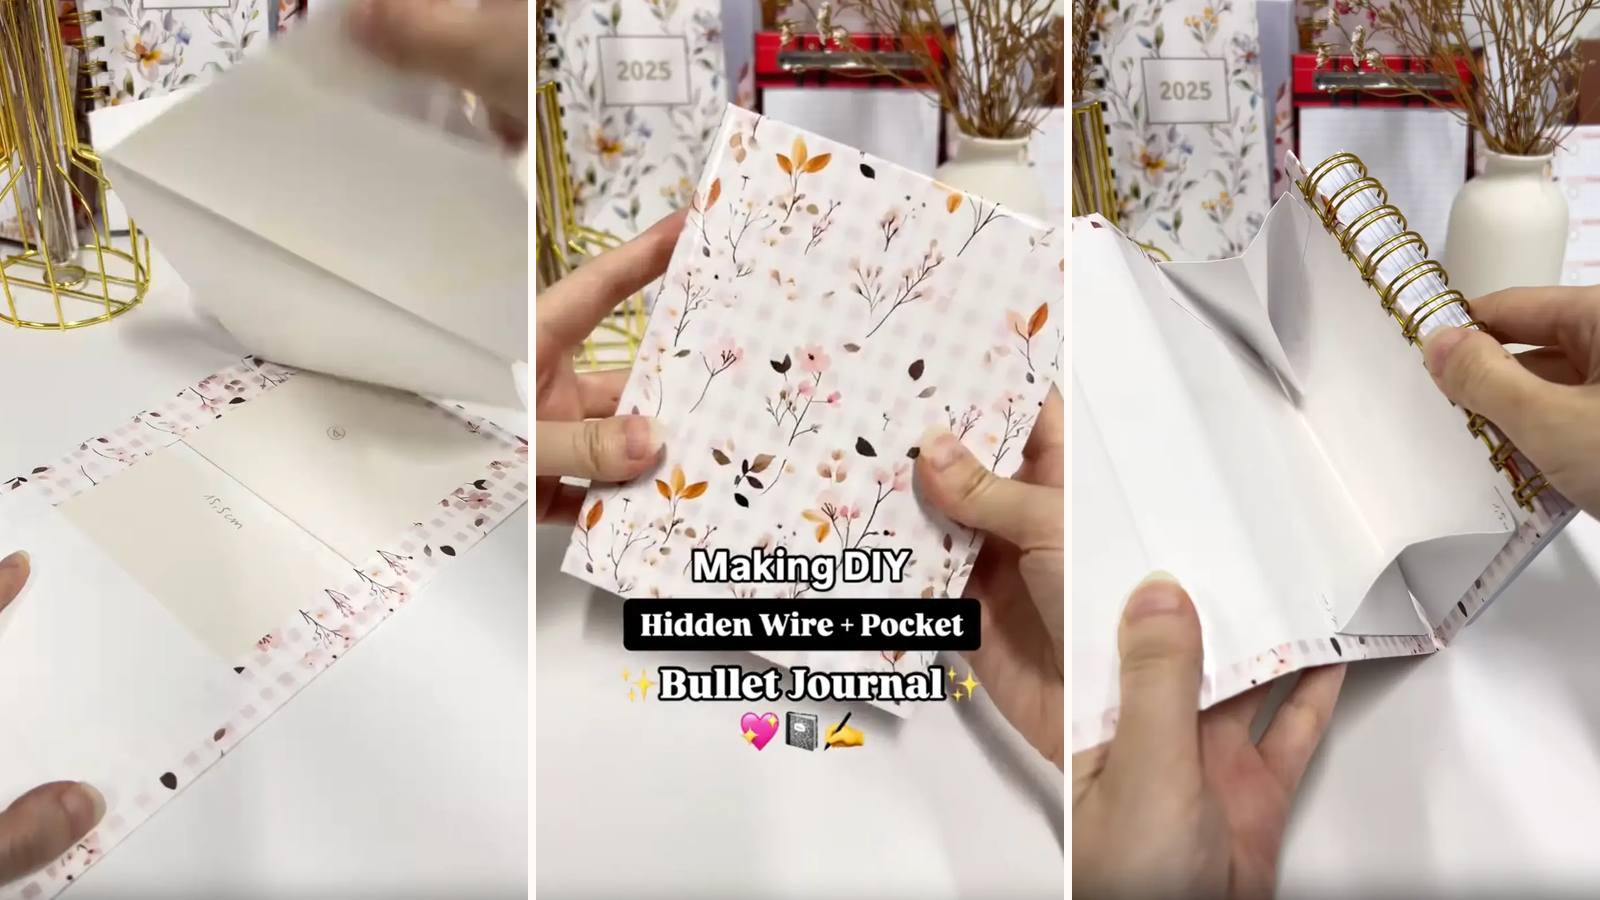
A pocket-sized journal with two things a small notebook usually lacks: the wire binding is concealed inside the cover, and the front cover has a pocket folded into it for cards, receipts and loose notes. Same concealment idea as the hidden wire planner, scaled down and with somewhere to put things.
These tutorials use Planify Pro, a drag-and-drop tool for designing printable planners and stationery. Building and editing is free — exporting a PDF needs a plan, from $9.99/month.
Get the template
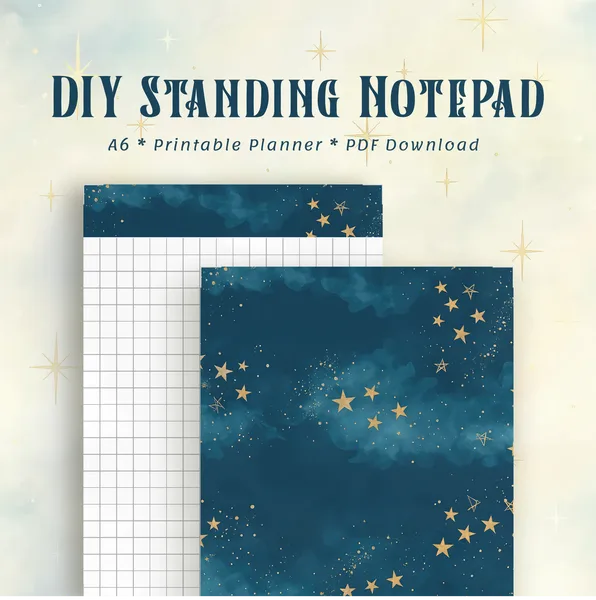
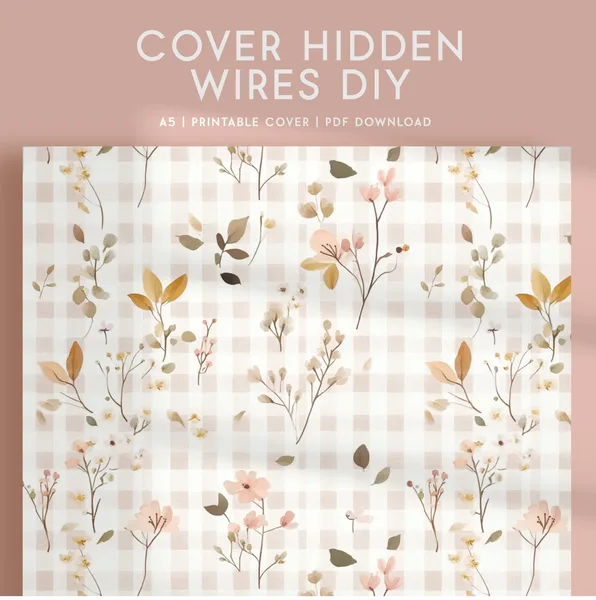
There are two files here — the DIY Standing Notepad and the Cover Hidden Wires DIY. Open either in Planify Pro to change the size, colours or artwork before printing, or print them exactly as they are. The cover design spans two A4 sheets, since the four-panel cover is longer than one page, and the artwork runs right to the edges because the margins get folded round the board.
Export and print
Inserts: Save/Export → Selected Page → Paper → A4 → optionally select A6 Quadruple to get four pocket-size pages per sheet → Generate PDF.
Cover: Save/Export → All Pages → Paper → A4 → Do Not Rearrange → Generate PDF. Two pages, printed and joined into one long strip.
What You'll Need
 Chipboard 1.4mm Chipboard 1.4mm |
 Paper and Cardstock 180gsm Paper and Cardstock 180gsm |
 Glossy Sticker Paper Glossy Sticker Paper |
 O-Wires 20mm O-Wires 20mm |
 Cinch Binding Machine Cinch Binding Machine |
 Heavy Duty Paper Cutter Heavy Duty Paper Cutter |
You'll also need wire clippers to cut the o-wires to length, and double-sided tape for the pocket.
Instructions
1. Print and cut 120 pages. Trim on the guillotine, or a cutter and ruler if you're working small.  |
2. Punch the inserts. Small batches on the Cinch, all registered to the same edge.  |
3. Print the two cover pages and join them. Trim any white border, then butt them together into one long strip — four panels won't fit on a single A4.  |
4. Cut four chipboard pieces, in order. 1) 2.2 × 15.5 · 2) 2 × 15.5 · 3) 12.2 × 15.5 · 4) 11 × 15.5 cm. Pieces 1 and 2 form the concealed spine channel; 3 is the front cover and 4 folds back over it to make the pocket.  |
5. Mind the gaps: 3 mm between each, but 6 mm between the 3rd and 4th. That wider gap is deliberate — it's the fold that has to clear the depth of the pocket rather than just the board.  |
All four aligned on the cover should look like this.  |
6. Fold all the sides in. Corners trimmed first, then each margin pressed down along the full length of the strip.  |
7. Line the inside. Glossy sticker paper cut to cover the whole inside face.  |
This is the finished cover before binding.  |
8. Punch the 4th panel only. The 11 × 15.5 cm piece. That's the one the wire goes through, and it ends up tucked behind everything.  |
9. Load the cover first, then the inserts. Cover before pages — that order is what lets the spine panels fold over the wire afterwards.  |
10. Close the wire. One firm squeeze on the Cinch.  |
11. Cut and score two cardstock pieces. 8.8 × 9.4 cm each, scored and folded at 1.5 cm → 3.2 cm → 3.2 cm → 1.5 cm. The two 1.5 cm ends are the tabs that stick down.  |
12. Tape the outer flaps. Double-sided tape on the 1.5 cm tabs at each end.  |
13. Stick them top and bottom on the 3rd panel. One at each end of the front cover — these are the sides of the pocket.  |
14. Fold the 4th panel over the 3rd. It lands on the other taped tabs.  |
15. Press them together. Firmly along both taped edges so the two panels bond.  |
The two panels now form a pocket with an open side — the gussets hold it open, so it takes cards and receipts rather than just flat paper.  |
Troubleshooting
The pocket won't open. The gussets were taped down flat instead of folded. Those middle 3.2 cm sections have to stay folded — that's what gives the pocket depth.
The cover won't fold over the wire. The 3 mm spine gaps are too tight for a 20mm wire. Check with a dry fold before peeling the sticker backing.
The pocket panel won't close flat. The gap between panels 3 and 4 is 3 mm instead of 6 mm. That extra 3 mm exists precisely to clear the pocket depth.
The wire is too long for the cover. Clip it to length before loading. Trying to trim a closed wire never ends well.
Selling these
Pocket size and a card pocket together make this a travel and everyday-carry product rather than a desk one — which puts it in front of a completely different set of buyers.
The concealed wire is the quality signal, and the pocket is the feature people actually talk about. Both are worth naming in the listing title.
It's also small, which means cheap postage and low material cost per unit — a good margin on a product that looks considerably more expensive than it is.
See 20 profitable planner niches and how to design planners that sell for more.


