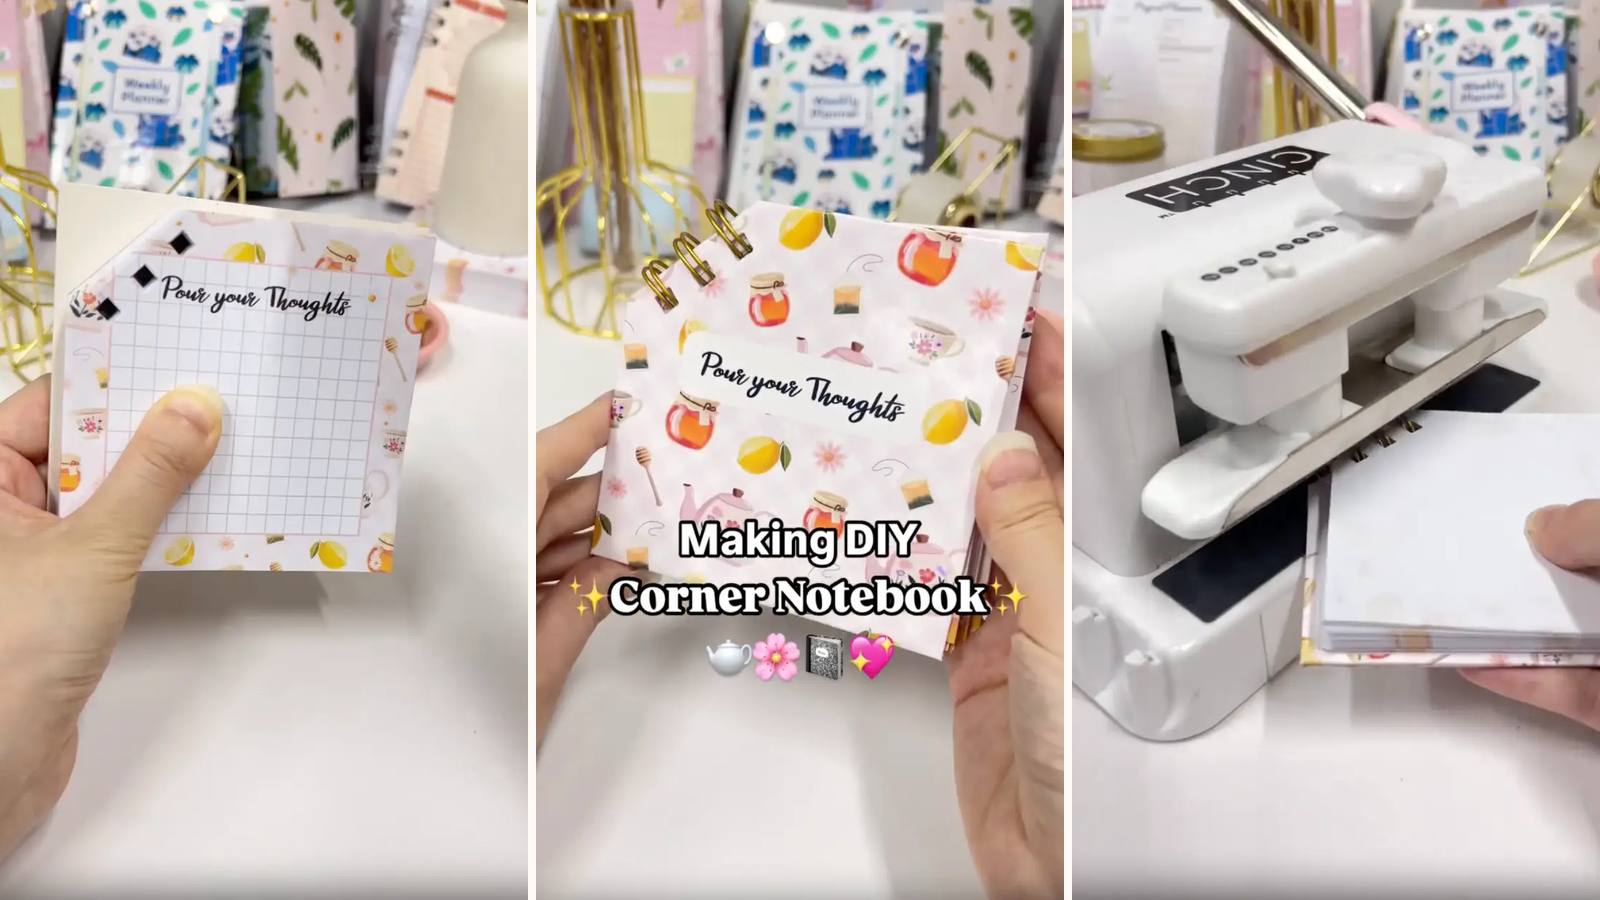
Ordinary wire binding, turned 45 degrees. One corner is cut off every page and the wire goes through that diagonal instead of down a spine, so the notebook flips open at an angle. It's a small change that makes the whole object look nothing like a notebook — which is rather the point for a brain dump journal you want to reach for.
These tutorials use Planify Pro, a drag-and-drop tool for designing printable planners and stationery. Building and editing is free — exporting a PDF needs a plan, from $9.99/month.
Get the template
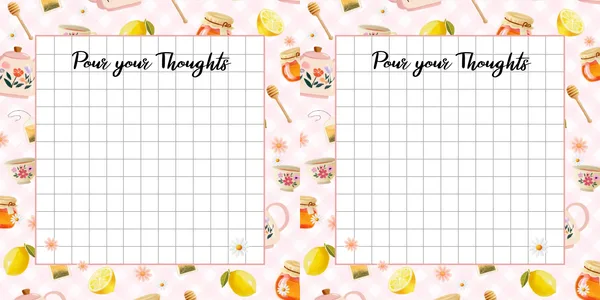
Open it in Planify Pro to change the size, colours or artwork before printing — or print it exactly as it is.
Export and print
Go to Save/Export → Selected Page → Paper → A4, then Generate PDF and print at 100% from Adobe Acrobat Reader.
Keep the page design clear of the corner you'll be cutting off — the diagonal takes a real bite out of the sheet, and anything drawn there disappears.
What You'll Need
 Paper and Cardstock Paper and Cardstock |
 Chipboard Chipboard |
 Glossy Sticker Paper Glossy Sticker Paper |
 O-Wires O-Wires |
 Cinch Binding Machine Cinch Binding Machine |
 Heavy Duty Paper Cutter Heavy Duty Paper Cutter |
Instructions
1. Print and trim the note pages. Guillotine, even batches.  |
2. Mark the corner cut. Mark the top sheet only, and cut the whole stack to that line — marking each page individually guarantees they won't match.  |
3. Cut the corners off. Smaller batches keep the angle true — a thick stack drags on the blade and the diagonal wanders.  |
4. Punch along the diagonal. Centred on the cut edge. The Cinch's guide is set up for a straight spine, so line each batch up by eye against the diagonal and check the first one before committing.  |
5. Cut two chipboards at 10.5 × 10.5 cm. Square, both the same.  |
6. Mark the corner from the pages. Lay a punched page centrally on the board and mark its diagonal — that way the covers match the pages rather than a measurement.  |
7. Cut both chipboard corners. Same angle, both boards.  |
8. Print and trim the covers. On white glossy sticker paper.  |
9. Wrap the boards. Peel the backing, place each board, and fold the sides in — including the short diagonal edge, which is easy to forget.  |
10. Line the backs. White glossy sticker paper over the folded edges.  |
11. Punch the covers. Along their diagonals, matched to a punched page.  |
12. Load the wire: pages, front cover, back cover.  |
13. Close the wires. One firm squeeze, then flip through to check the pages turn freely on the diagonal.  |
Troubleshooting
The punched holes wander along the diagonal. The stack was punched in big batches, or without checking the alignment each time. Small batches, and check the first one against the cover before doing the rest.
The corners don't all match. Pages were marked individually rather than cut as a stack. Mark once, cut through.
The cover corner doesn't match the pages. It was measured instead of marked from an actual page. Use the pages as the template.
The pages catch when flipped. The wire is over-closed, or the diagonal holes are too close to the cut edge. Leave a bit more margin.
Selling these
The corner binding is the entire product. It costs nothing extra — same paper, same wire, one additional cut — and it produces something nobody else on a marketplace page is selling.
It photographs unusually well too, because the diagonal reads as deliberate design rather than a notebook shot at an angle.
Worth trying the same trick on other formats. Any wire-bound project in this library can be rotated 45 degrees, and the technique transfers exactly.
See 20 profitable planner niches and how to create listing photos for more.


