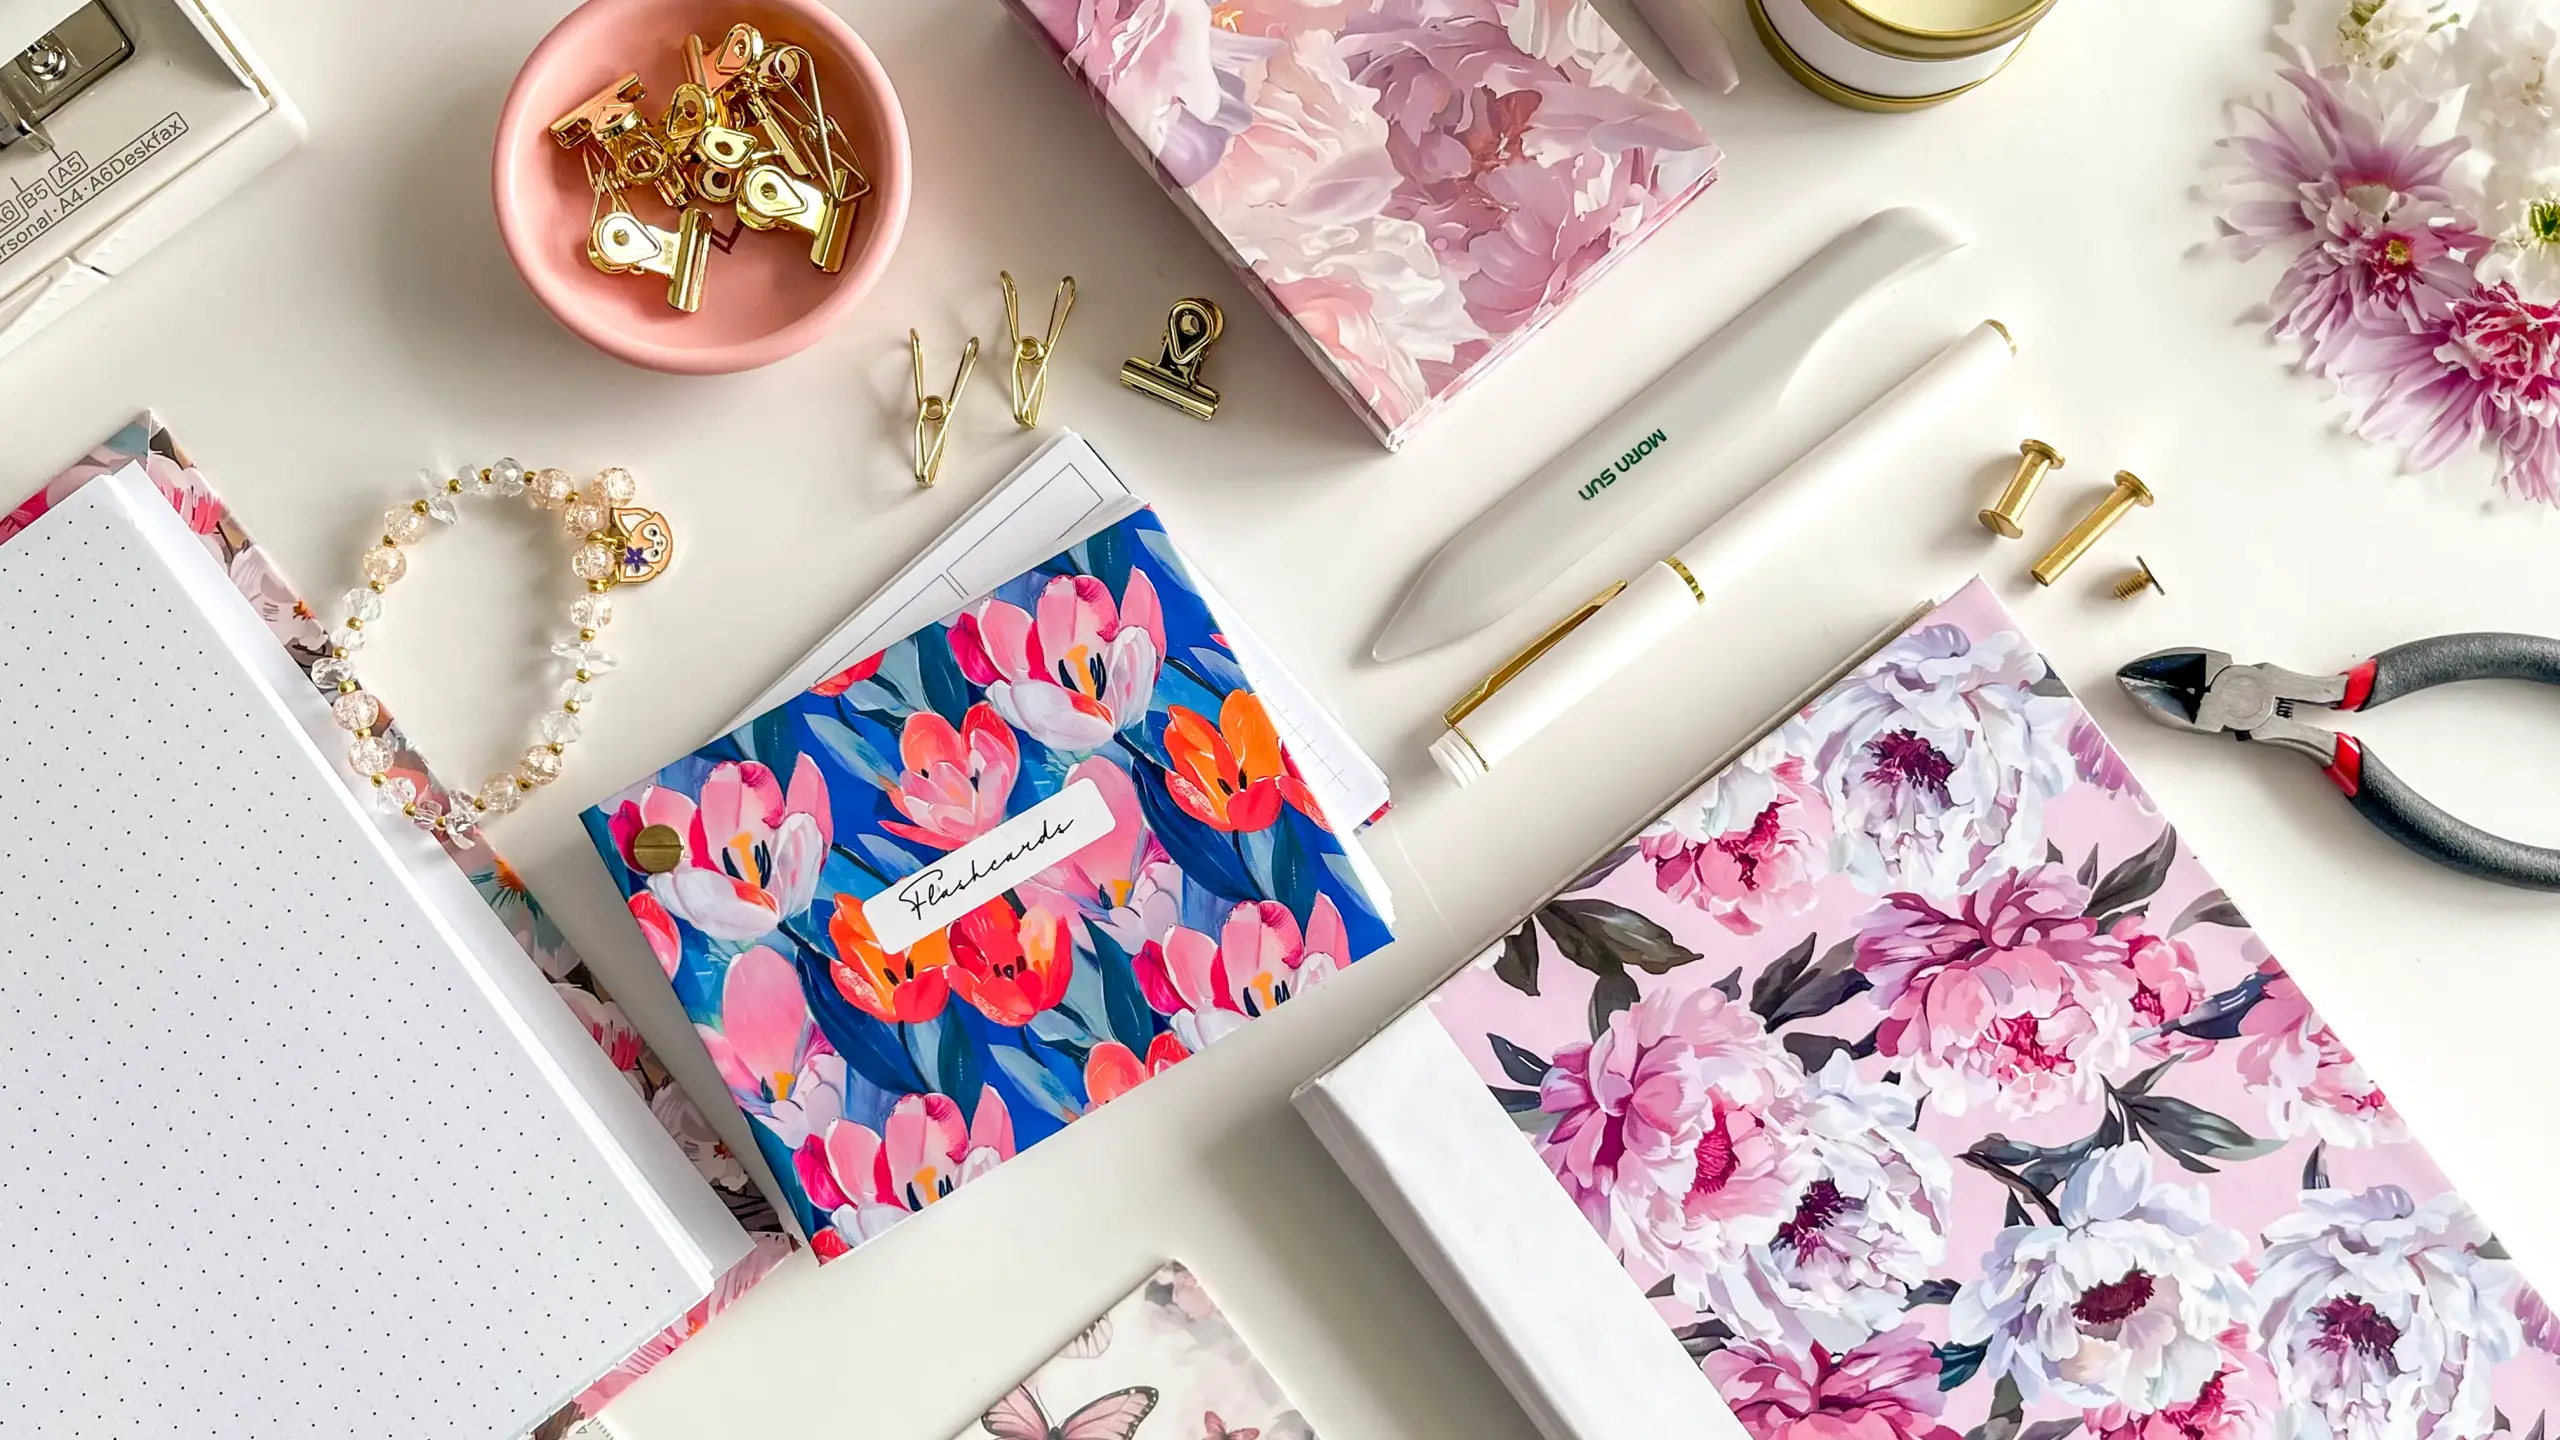
An A5 journal whose hardcover opens on a 3mm hinge, held together by two Chicago screws down the spine instead of glue or wire. Undo the screws by hand and the whole stack of pages lifts out, so one cover outlives dozens of refills.
These tutorials use Planify Pro, a drag-and-drop tool for designing printable planners and stationery. Building and editing is free — exporting a PDF needs a plan, from $9.99/month.
Get the template
There is no ready-made template for this exact journal yet. Browse the Planify Pro template library and pick an A5 cover pattern plus a lined or dot-grid notes page — any pair can be adapted to the sizes below before you print.
Export and print
Export the cover and the refill pages as a PDF, then print them on different stock: the cover onto glossy sticker paper, the inserts onto plain paper.
The two are printed at different scales, and this is the step that goes wrong. Print the cover at 120% — at 100% an A5 sheet is barely larger than the finished 15 × 21cm board and leaves you nothing to fold over the edges. Print the inserts at 100% with any "fit to page" or "shrink to printable area" option switched off, so the punched holes stay in line with the screws.
What You'll Need
 |  |  |
 |
You will also need a craft knife, a metal ruler and a cutting mat for the chipboard, plus something blunt — a bone folder or the edge of a plastic set square — to crease the hinge and burnish the sticker paper down.
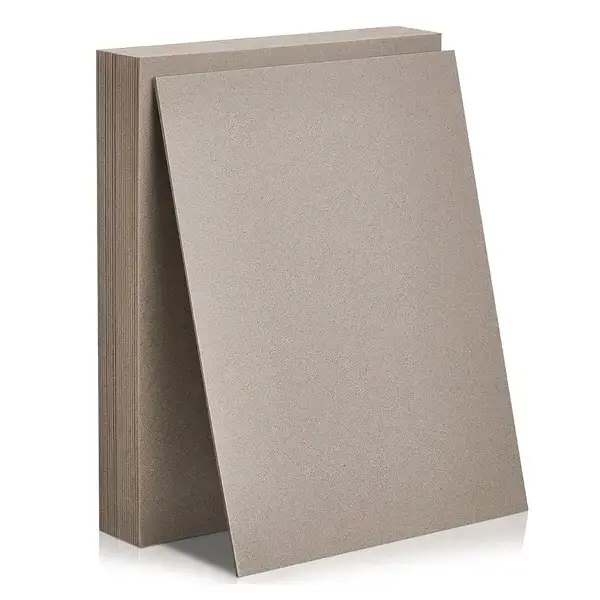
A note on the chipboard: 1.2mm is what this build uses. Thinner board bends in the hand and the journal loses its hardcover feel; much thicker and the 18mm screws will not close over the cover, the liner and a full stack of pages.
Instructions
1. Print the cover and peel it off its backing. Glossy sticker paper wants to curl as it comes away, so peel slowly from one corner and keep the sheet face down until the board is ready.  |
2. Cut the front cover from 1.2mm chipboard. It is two pieces, not one: a 12.8 × 21cm main panel and a 2cm × 21cm spine strip, which together span the same 15cm width as the back.  |
3. Stick both pieces down with a 3mm gap between them. Only the sticker paper spans that gap — it is the hinge the front cover folds on, so keep it even from top to bottom.  |
4. Trim the margin and clip the corners. Cut each corner off at an angle before folding the edges in, so the flaps meet instead of bunching into a lump under the liner.  |
5. Cut and cover the back the same way. The back is a single 15 × 21cm board with no hinge — it never bends, so it does not need splitting.  |
6. Line the inside with white sticker paper. This hides the folded flaps and the bare board, and gives the screw heads a clean surface to sit against.  |
7. Smooth the liner down from the centre out. Leave a narrow border of the printed cover showing all the way round — it frames the panel and stops the liner edge from lifting.  |
8. Crease the hinge. Run a blunt edge firmly along the 3mm gap a few times. Sticker paper alone will crack there eventually if it is folded cold, and a made crease folds in the same place every time.  |
9. Punch the inserts. Two holes spaced well apart is the layout used here, but a four-hole punch or a closer pair works too — whatever you pick, punch every sheet identically.  |
10. Match the holes to the covers. Hold a punched sheet against the spine edge of each board, mark through it, and punch the covers to suit. Chipboard is slow going — punch it on its own, not stacked with paper.  |
11. Screw it together. Push the two screw posts up through the back cover, drop the page stack over them, add the front cover last and turn the caps down finger-tight.  |
That is the whole build. When the pages run out, unscrew the two caps, lift the old stack off and drop a new one on — the cover never gets rebuilt.  |
Troubleshooting
The front cover will not lie flat when closed. The 3mm gap is too narrow. It has to clear the thickness of the board plus the page stack — widen it slightly on the next cover rather than forcing the fold.
The printed cover is too small to wrap the board. It was printed at 100%. The cover needs 120%; only the inserts print at actual size.
The holes in the pages do not line up with the screws. Either the inserts were scaled by the printer, or the covers were punched freehand instead of marked through a punched sheet. Reprint at 100% and re-mark.
The screws will not close. 18mm posts have a limit. Take out ten or twenty sheets, or step up to longer posts — over-tightening a short screw dishes the cover instead of gripping.
The sticker paper bubbles under the liner. The corners were folded before being clipped. Trim the corner off at 45° first, then fold, so the flaps butt up instead of overlapping.
Selling these
A refillable journal sells on the thing it does that a bound notebook cannot: the buyer keeps the cover. That reframes the price — you are selling a durable object plus a consumable, not a notebook that ends.
The refill packs are the real business. Punched insert stacks cost pennies, post flat, and bring the same customer back two or three times a year. Sell the journal once, sell inserts forever.
Bundle a cover with two refill packs as the starter set, then list plain lined, dot grid and dated refills separately. It also pairs well with smaller Chicago-screw items — a matching notepad in the same print reads as a set rather than two products.
See 20 profitable planner niches and easy templates that sell for more product ideas.
Try these next
DIY Refillable Notepad — the same screw binding at notepad size
DIY Hardbound Planner — a glued book block instead of screws
How to Make Your Own Planner Book — wire-bound, with the same 120% cover trick
DIY Corner-Bound Notebook — a journal that opens diagonally
Book Binding Methods Compared — which binding suits which project


